Z-axis Bellows Mount (Part 3): Bottom Bracket
Previous Posts
Started Work On A Z-axis Bellows Mount
Bottom Bracket
I made the bottom bracket from a single piece of aluminum measuring 75x235x15mm. In this a slot for the Z-axis way is cut and holes are drilled in the bottom for press fitting the magnets that will fix the bracket to the mill base.
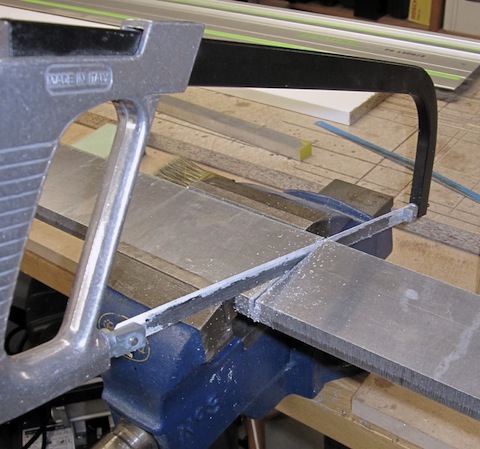
Cutting a piece 240mm long from existing bar stock. Even with a brand new bi-metal blade and plenty of WD-40 that is still quite a chore. Time to start saving for that band saw!

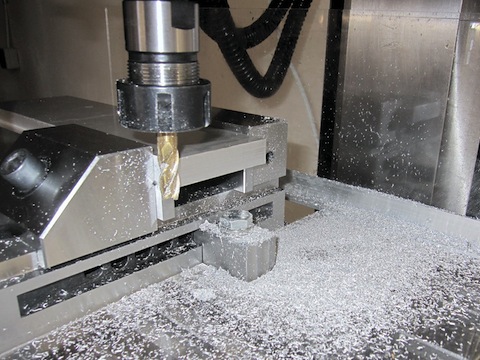
Squaring the edges of the sawed of piece. Another downside to using a manual hack saw is that the saw cut tends to be quite at quite an angle from vertical, hence the need to remove a lot of material before the edge is square.
Here I'm using a 10mm 4-flute end mill where the end is damaged. It's certainly not ideal for this type of operation, but squaring ends is purely for cosmetic reasons - the finish and dimensions of the edges are in no way critical - so I decided to save the wear on my other end mills for more critical applications.

In part 4, I'll cover making the bottom bracket ...
blog comments powered by Disqus
Published
Tags
Related Posts
- Z-axis Bellows Mount (Part 2): Top Bracket
- DRO Mount (X-axis) on Sieg SX3
- Choosing A Mill
- Z-axis Bellows Mount (Part 1): Introduction
- DRO Mount (Y-axis) on Sieg SX3